
Pick profitable herbs to grow
Choosing the right crops is the first step toward a low-risk start. You want herbs that sell well, grow reliably, and don’t require expensive equipment. The goal is to match what your local market actually buys with what your land can easily produce.
Focus on high-turnover culinary herbs like basil, cilantro, and parsley. These grow fast, have consistent demand from restaurants and farmers markets, and require minimal infrastructure. Pair them with one or two niche crops like lavender or lemon balm for dried products, which have longer shelf lives and higher margins per pound.
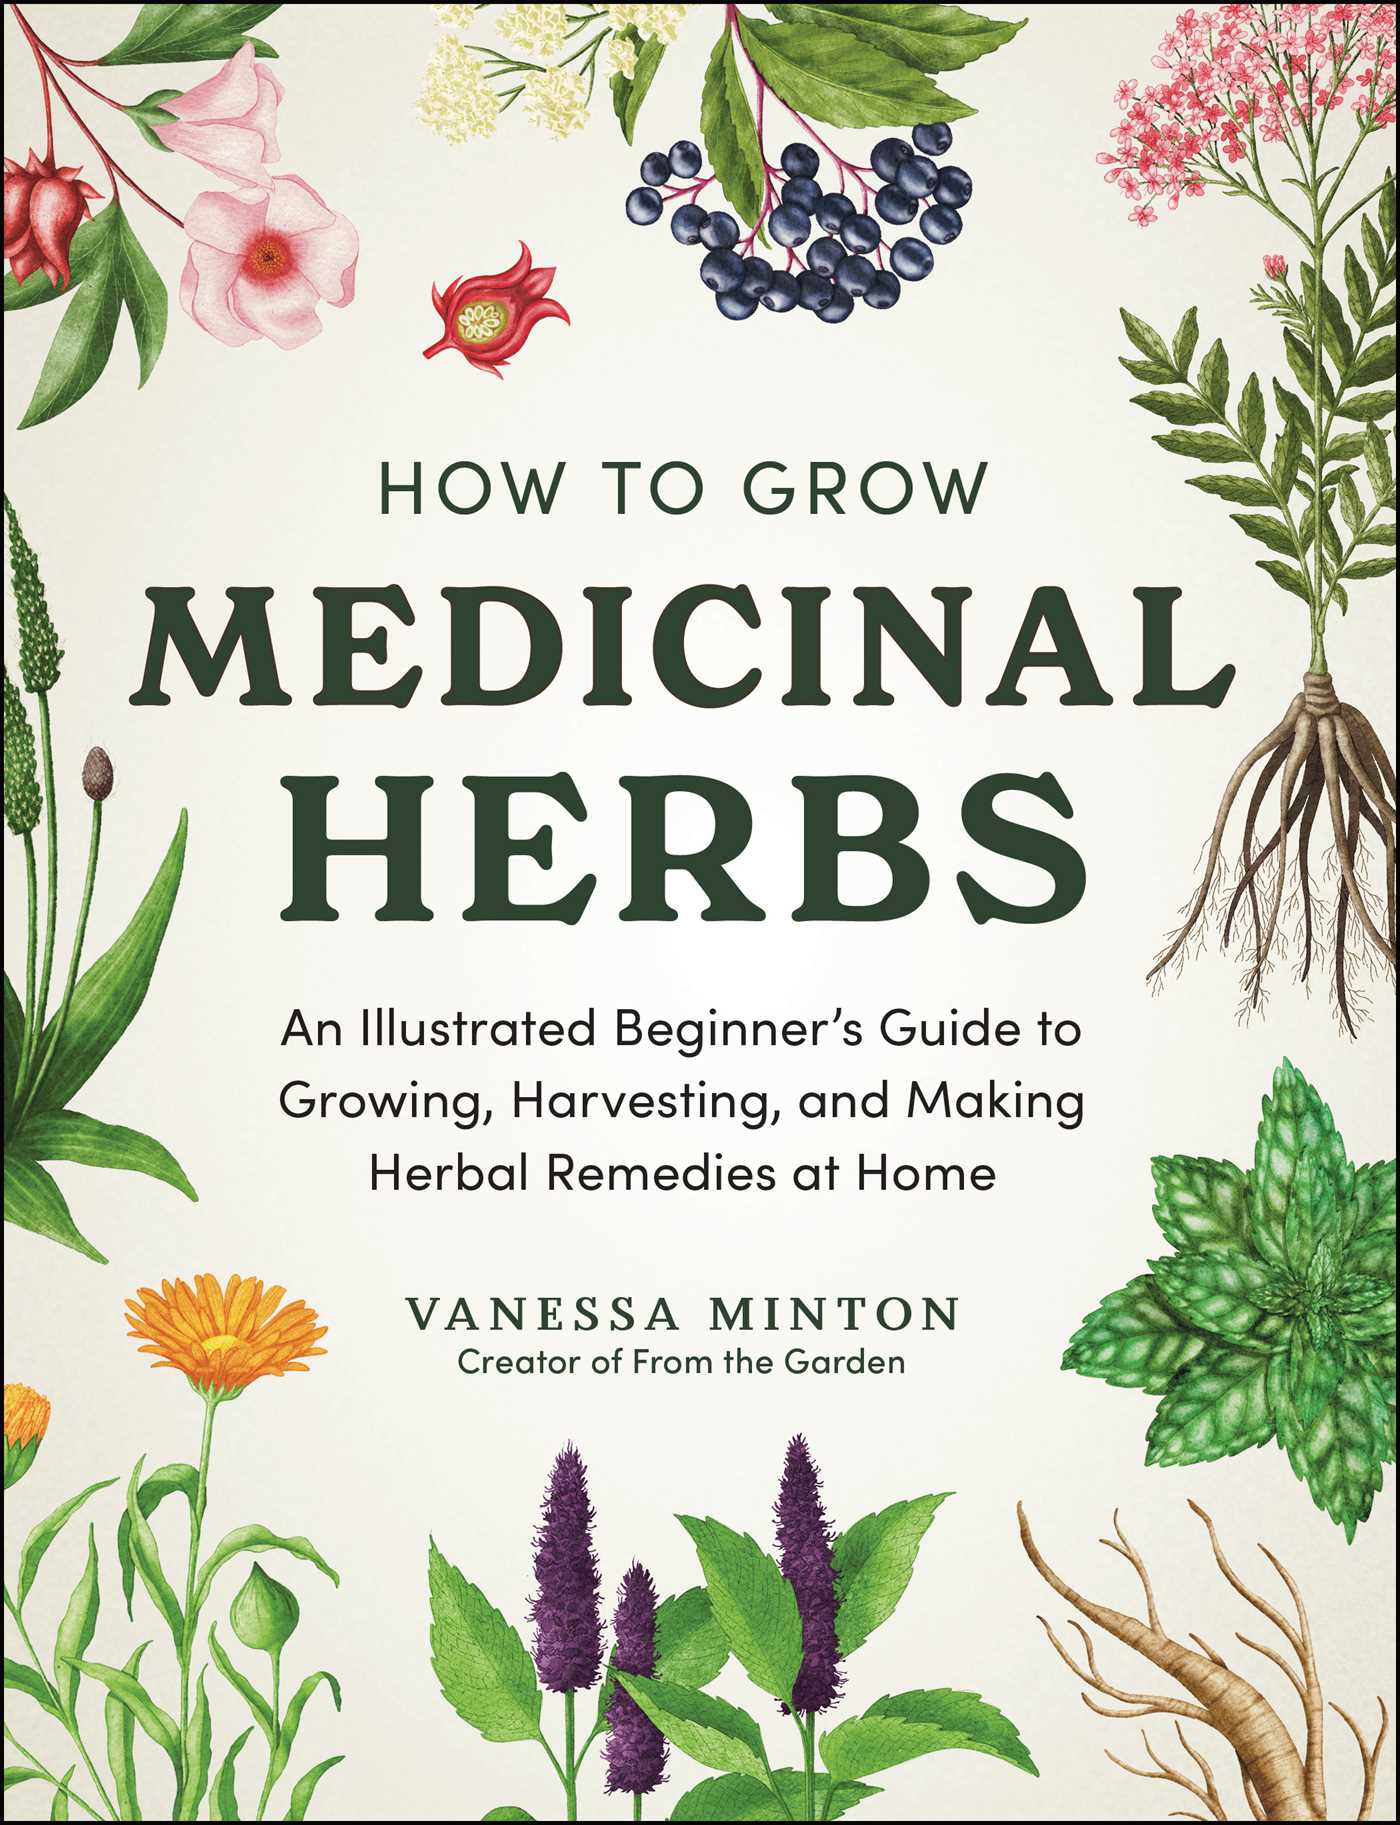
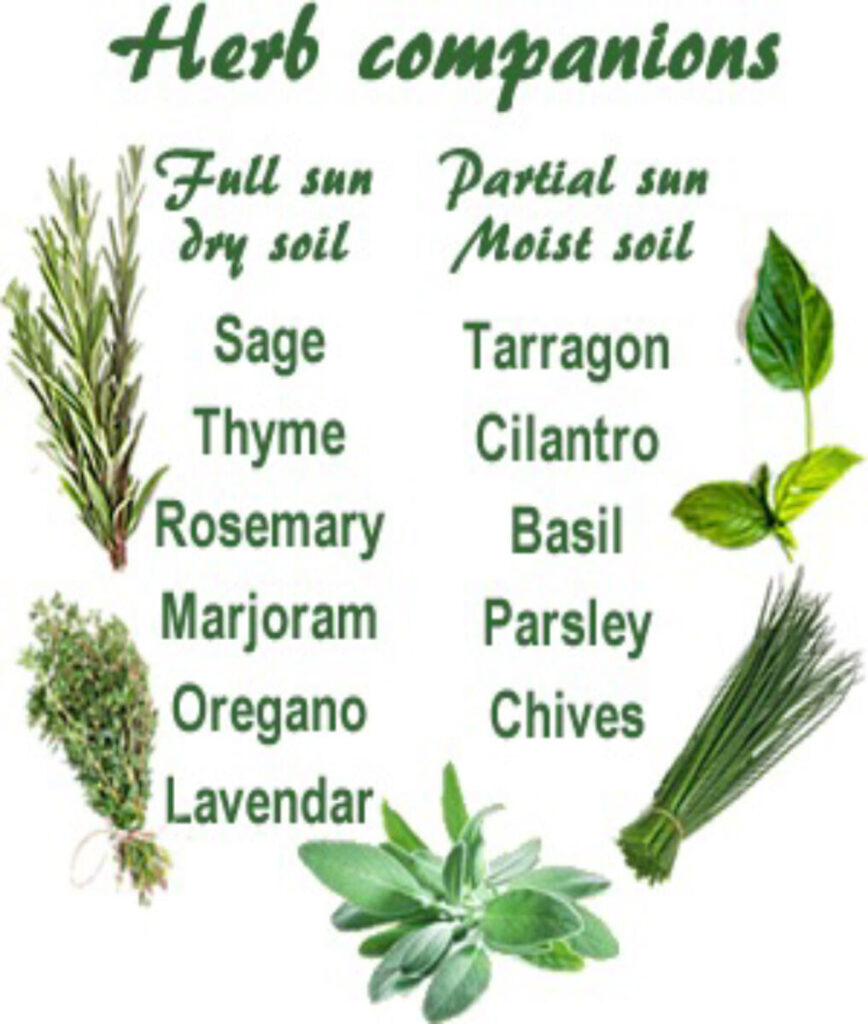
Before you plant, check your local climate zone and soil type. Some herbs, like rosemary, thrive in dry, sunny spots, while mint needs consistent moisture. Start small with three to five varieties to test the waters. This approach keeps your initial investment low and lets you learn what works before scaling up.
You don’t need acres to make money. Even a small plot can yield significant profit if you focus on quality and direct sales. Look into local chefs, farmers markets, and online platforms to find your buyers early. Growing the right herbs for the right market is the foundation of a sustainable herb business.
Choose your growing space
Before you buy a single seedling or shelf, decide where your herbs will live. Your choice depends on your budget, local climate, and how much time you want to spend managing the environment. Indoor setups offer year-round control but require electricity for lights. Greenhouses extend the season with natural light. Outdoor beds are the cheapest option but rely on the weather.
Pick the setup that matches your current constraints. You can always expand later, but starting with the right foundation saves money and stress.
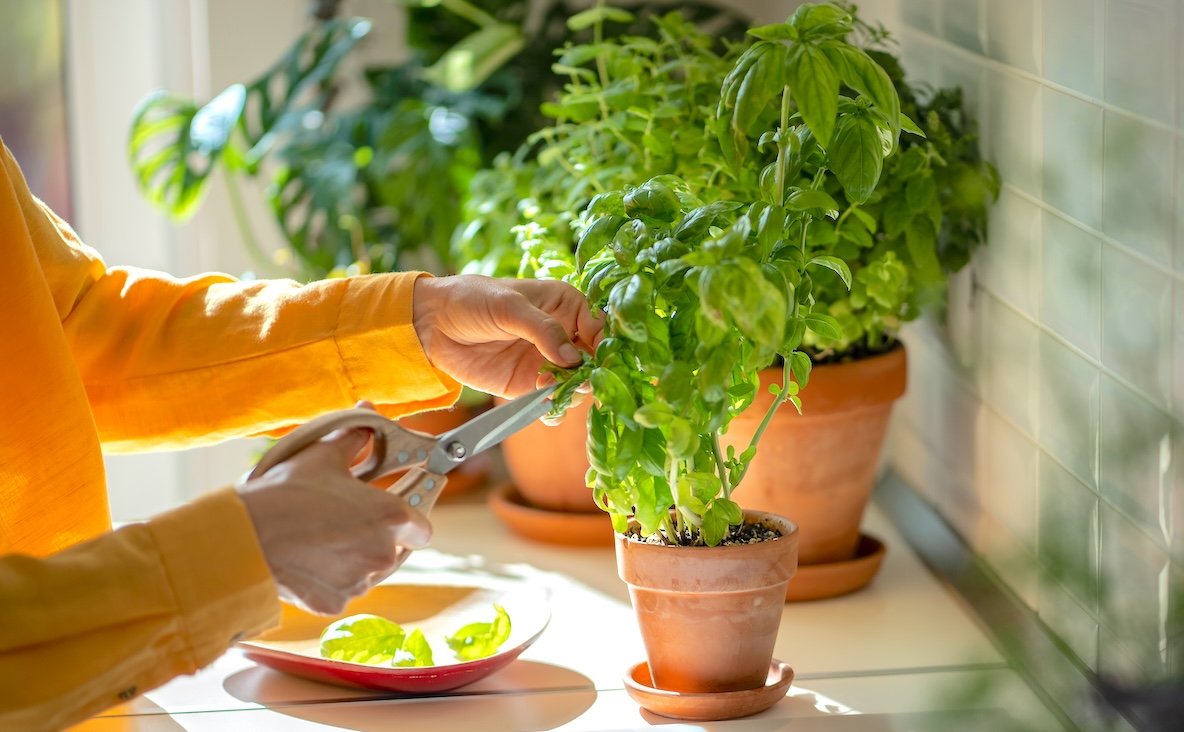
Indoor growing gives you total control over light, temperature, and humidity. This is ideal if you live in a cold climate or want to grow delicate herbs like basil and cilantro during winter. Start small with a simple shelf and a basic LED grow light. You can buy a starter kit for under $50. Focus on high-value, fast-growing crops like microgreens or basil. This approach minimizes upfront costs while letting you test your market before scaling up.
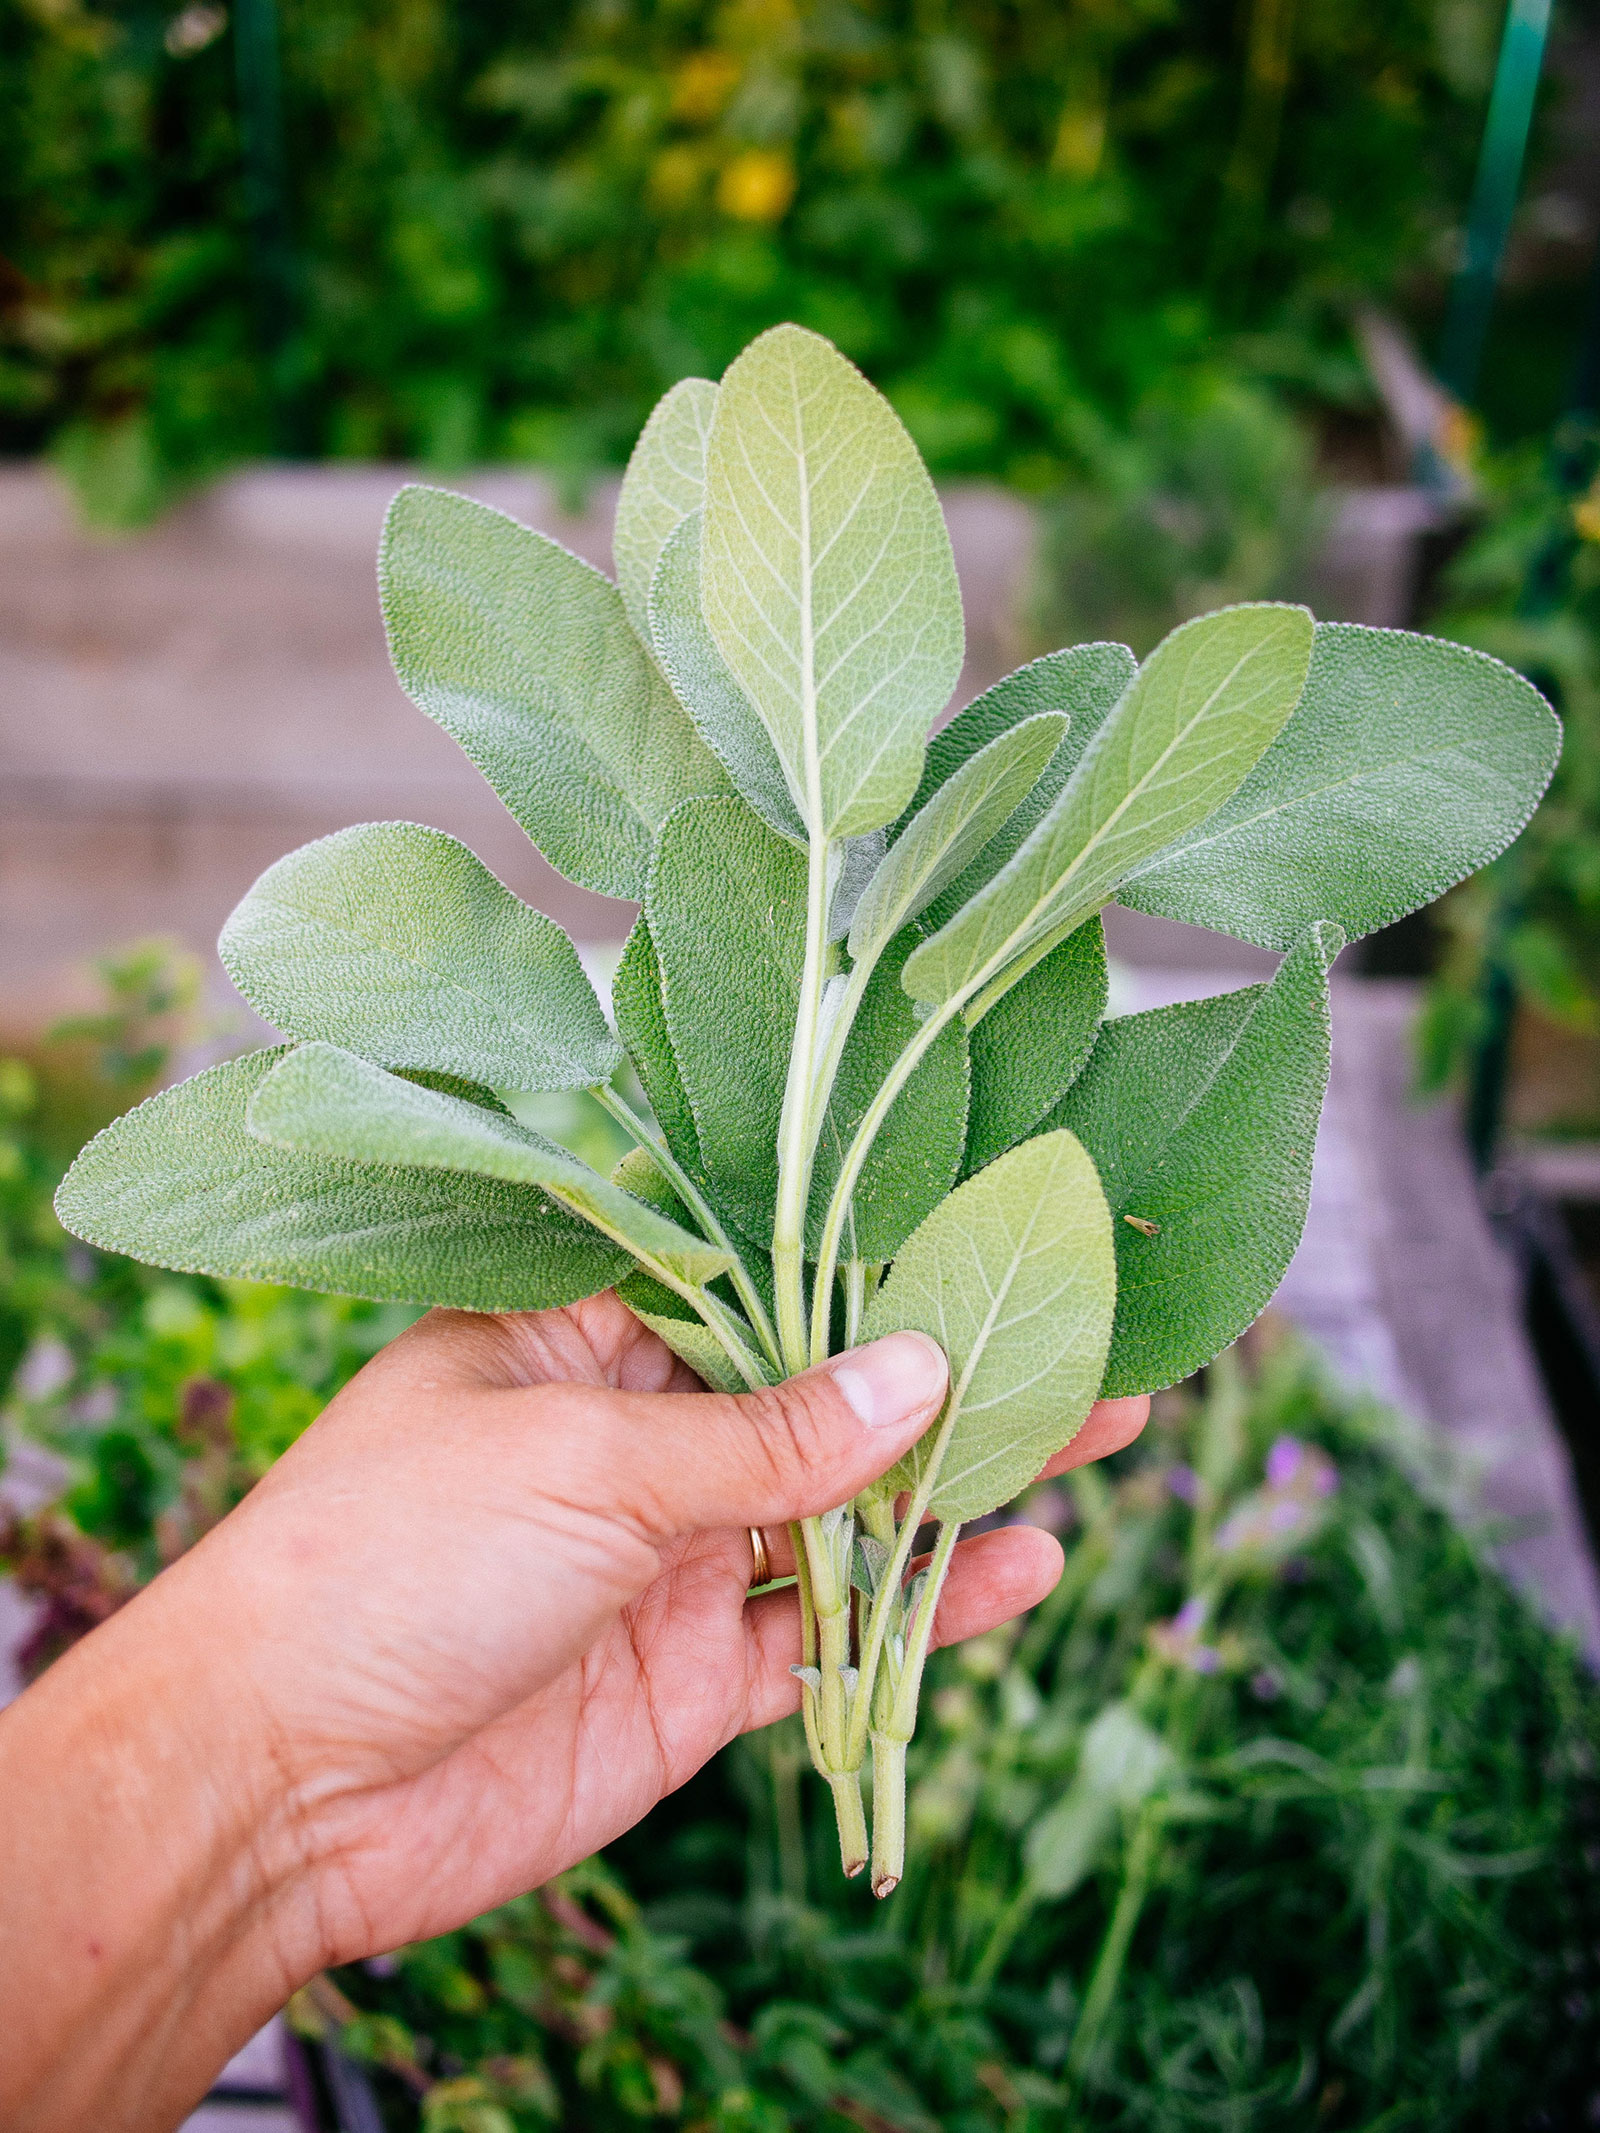
A greenhouse bridges the gap between indoor and outdoor growing. It protects plants from harsh weather while using free sunlight. This setup is perfect for growing herbs like rosemary, thyme, and oregano that need more light than indoor shelves can provide. You can build a simple hoop house for a few hundred dollars. This allows you to start planting earlier in spring and harvest later into fall, giving you a longer selling season for farmers markets.
Outdoor growing is the most budget-friendly option. You only need soil, seeds, and space. Raised beds are a great way to start because they improve drainage and make weeding easier. This method works best for hardy herbs like mint, chives, and parsley. However, you are at the mercy of the weather. Rain, drought, or early frost can wipe out your crop. Start with a small plot and focus on herbs that are resilient and popular in your local area.
Once you pick your space, focus on the basics: good soil, consistent water, and adequate light. Don't overcomplicate it. Your first goal is to learn what your herbs need, not to build a commercial farm on day one.
Buy essential herb farming equipment
You don't need a warehouse full of machinery to start an herb business. In fact, keeping your initial gear simple protects your cash flow while you figure out which crops actually sell. Most successful micro-herb farms launch with a toolkit that costs less than a used car, focusing on high-impact, low-cost items that handle planting, harvesting, and basic processing.
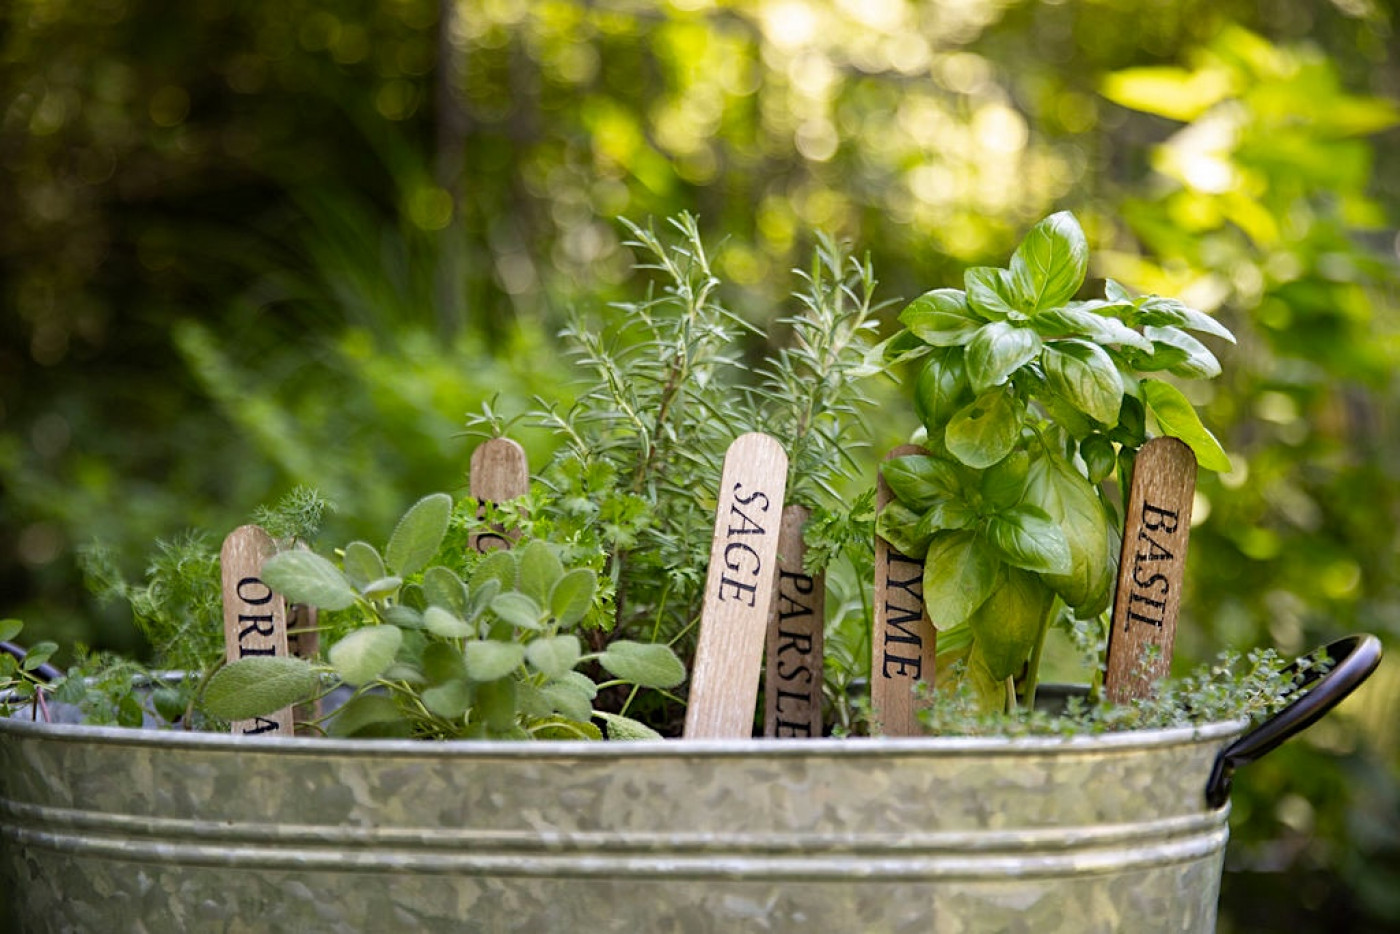
Start with sharp, ergonomic hand tools. A pair of bypass pruners is non-negotiable for clean cuts on basil, mint, and cilantro; ragged edges bruise the leaves and shorten shelf life. Pair these with a few stainless steel hand trowels for transplanting seedlings into larger pots or garden beds. Stainless steel resists the rust that frequent watering and soil moisture cause, ensuring your tools last through multiple seasons without corroding.
Next, invest in a commercial-grade drying rack or dehydrator. If you plan to sell dried herbs like oregano, thyme, or lavender, proper drying is the difference between a premium product and moldy waste. A simple multi-tier mesh rack works for small batches in a well-ventilated space, but a food dehydrator offers consistent temperature control, which is crucial for preserving the volatile oils that give herbs their flavor and scent. Avoid direct sunlight when drying, as UV rays degrade color and potency.
Finally, grab a digital gram scale and clean packaging materials. Precision matters when pricing by weight. A scale accurate to at least one gram ensures you aren't giving away free product or pricing yourself out of the market. Pair this with food-safe bags, jars, or tin tie packets that keep your herbs fresh. Good packaging also serves as your first marketing touchpoint, so choose materials that look professional and protect the product from moisture and light. This minimal setup allows you to start selling at local farmers' markets within weeks, not months.
Grow and harvest your first batch
Turning seeds into sellable product is where the business actually begins. You don’t need a commercial greenhouse to start; a sunny windowsill, a small patio, or a modest backyard plot works just as well. The goal here is consistency and quality. Buyers pay for fresh, vibrant herbs, not wilted greens.
Focus on high-turnover crops like basil, cilantro, and parsley. These herbs grow quickly, allowing you to test your market and refine your growing technique without tying up space for months. Start small, master the cycle, then expand.
Commercial herbs need well-draining soil to prevent root rot, which is the number one killer of starter plants. Mix potting soil with perlite or coarse sand at a 3:1 ratio. Fill your containers—seed trays or small pots—with this mix, moisten it lightly, and let it settle before planting. Avoid garden soil, which compacts too easily in containers.
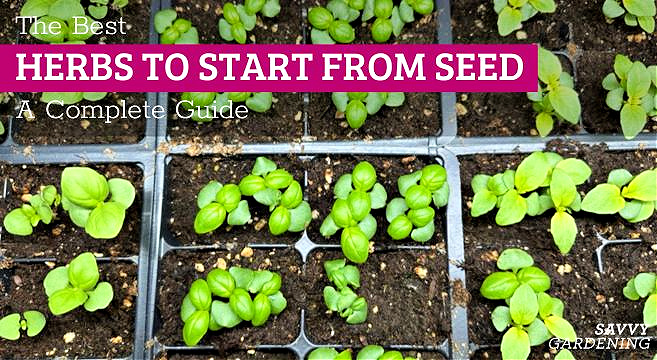
For beginners, buying young starter plants from a local nursery is often faster and more reliable than starting from seed. If you start from seed, sow them shallowly—about 1/8 inch deep—and keep the soil consistently damp but not soggy. Place trays in a warm spot with indirect light until germination. Basil and cilantro are forgiving choices for this stage.
Water herbs when the top inch of soil feels dry to the touch. It’s better to water deeply and less frequently than to sprinkle lightly every day. Ensure your containers have drainage holes. As plants grow, thin them out if they’re crowded. Healthy herbs need air circulation to prevent fungal issues. Pinch off any flower buds that appear; you want the plant to focus energy on leaf production, not reproduction.
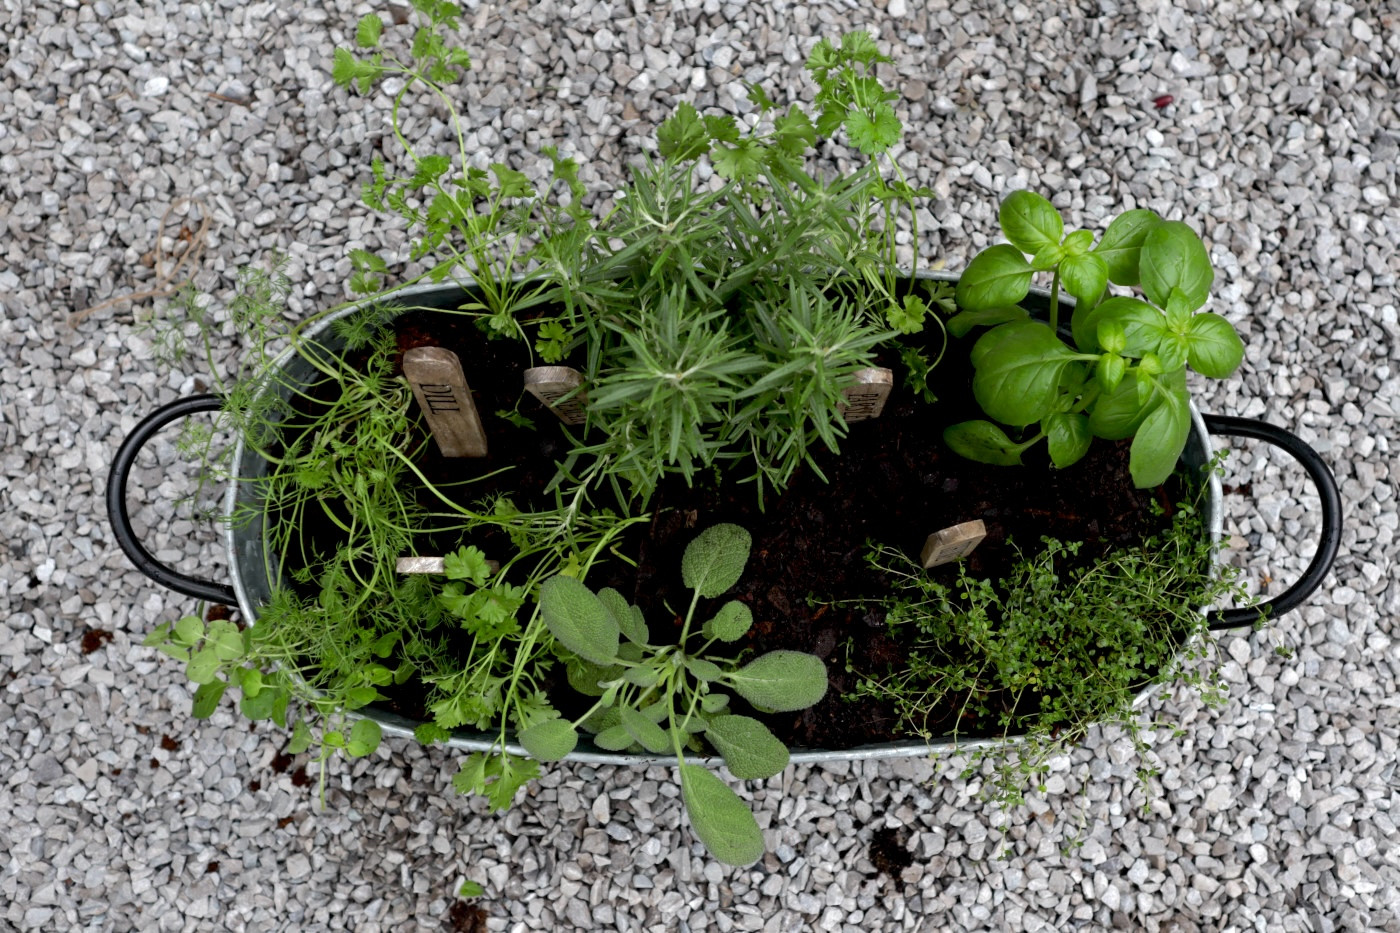
Harvest in the morning after the dew has dried but before the midday heat. This is when essential oil content is highest, meaning the best flavor and aroma. Cut stems just above a leaf node to encourage bushier growth. Never remove more than one-third of the plant at once. For commercial sales, bundle herbs neatly with a rubber band or wrap them in damp paper towels to maintain freshness.
Process and package for sale
Once your herbs are harvested, the clock starts ticking. Proper processing and packaging are what turn a garden harvest into a sellable product. You need methods that preserve flavor, maintain visual appeal, and extend shelf life without requiring expensive industrial machinery.
Dry, bundle, or package for fresh sales
The method you choose depends on your target market. Dried herbs require airflow and darkness to prevent mold and retain potency. Fresh herbs need moisture control to stay crisp. Here is how to handle each stage.
Harvest in the morning after dew dries but before the midday sun hits. This is when essential oils are most concentrated. Cut stems cleanly with sharp shears. Remove any damaged or diseased leaves immediately. Handle herbs gently to avoid bruising, which speeds up spoilage.
For herbs like basil, oregano, and thyme, drying is essential for long-term storage. Hang small bundles upside down in a warm, dark, and well-ventilated area. Alternatively, use a food dehydrator at 95°F (35°C) for faster results. Herbs are ready when they crumble easily between your fingers. Keep them away from direct sunlight to preserve color and flavor.
For fresh herbs, wash and dry them thoroughly. Bundle 5-10 stems together with biodegradable twine. For dried herbs, store them in airtight glass jars or high-quality zip-lock bags. Label each package with the herb name and harvest date. Use clear, attractive packaging that shows off the product. Consider adding a small card with usage tips to add value.
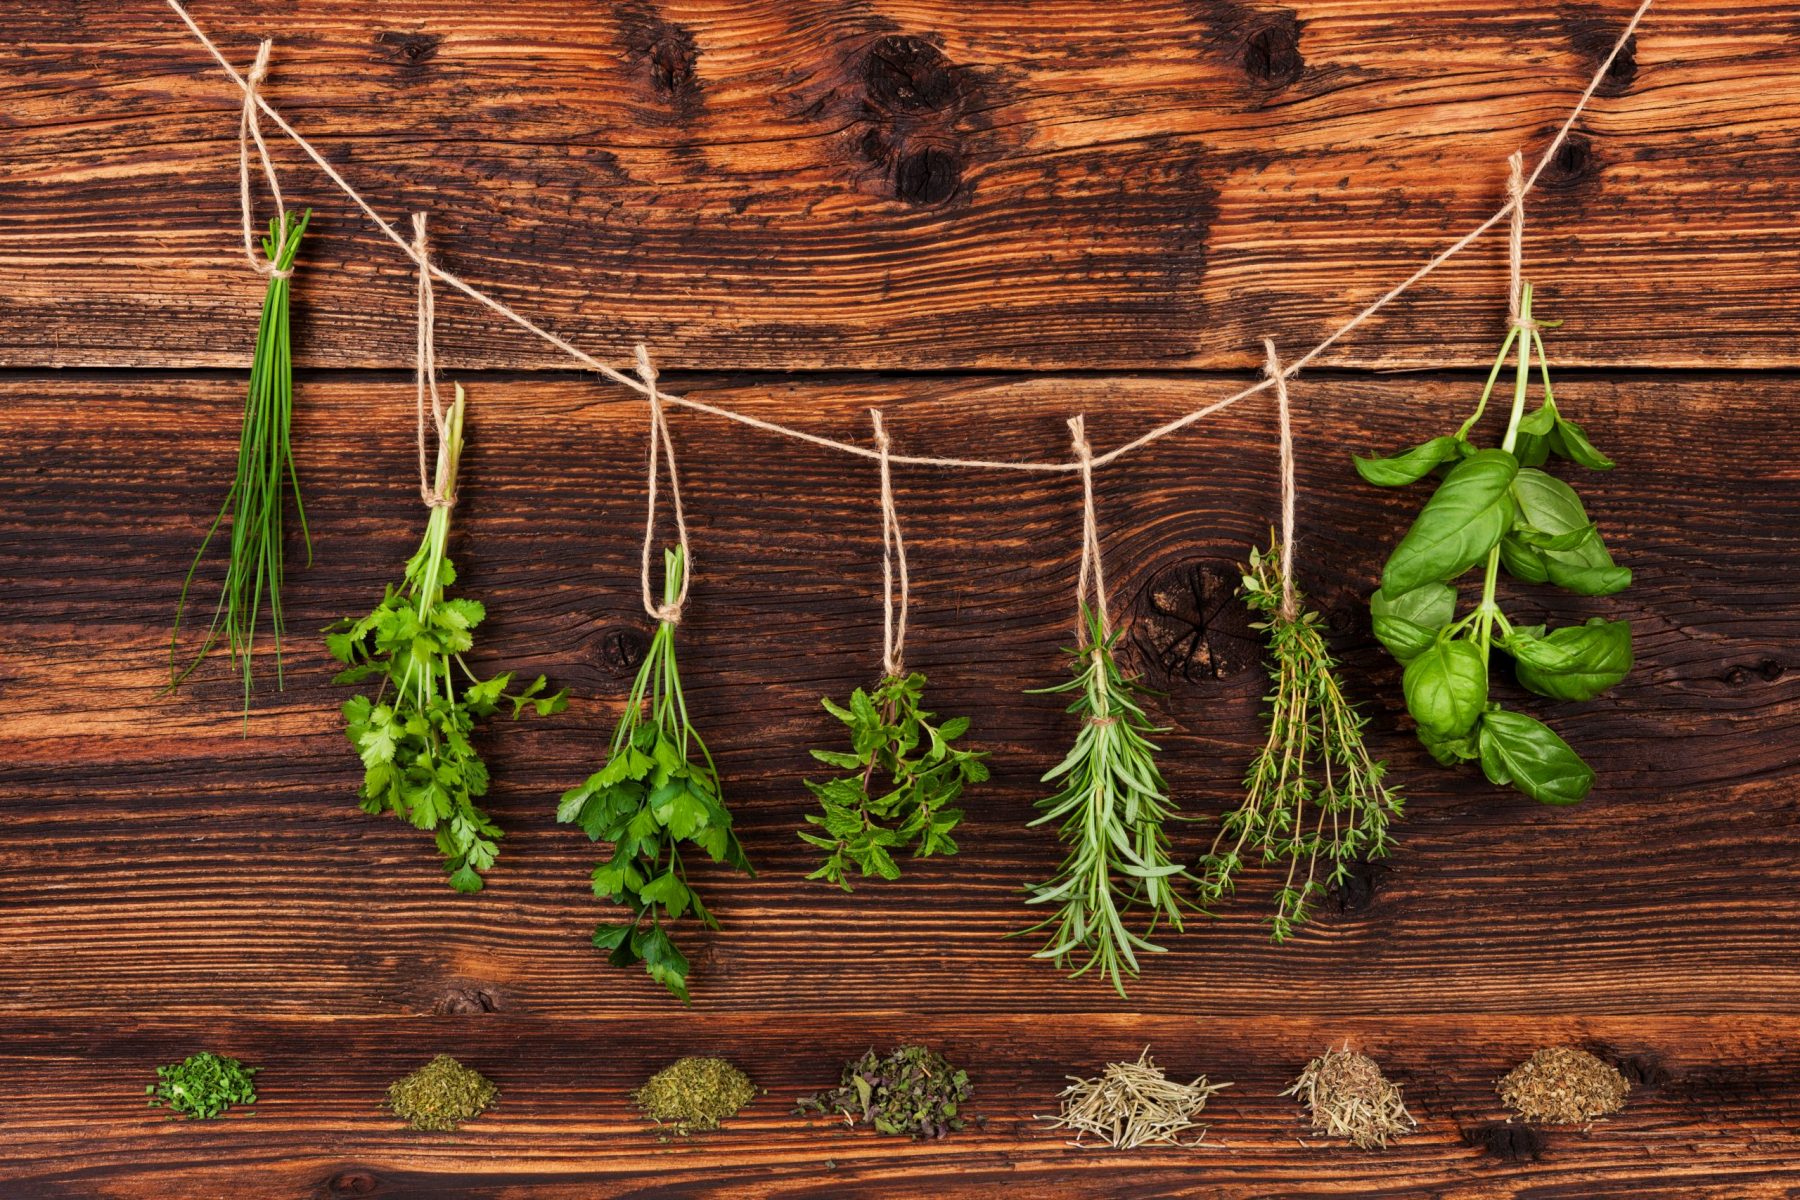
Store dried herbs in a cool, dark place. Fresh herbs should be refrigerated in a container with a damp paper towel if selling locally. If shipping, use insulated boxes with ice packs for fresh herbs and lightweight, protective materials for dried ones. Ensure packaging is secure to prevent crushing during transit.
Meet market standards
Whether you are selling at a farmers market or online, presentation matters. Clean, consistent packaging builds trust. Use simple, eco-friendly materials like kraft paper bags, glass jars, or cotton twine. Avoid plastic unless it is necessary for freshness, and clearly label it as recyclable if possible. Transparency in your sourcing and processing methods can be a strong selling point for health-conscious consumers.
Sell herbs at local markets
Selling at a farmers market is the fastest way to turn your harvest into cash and build a loyal local customer base. Unlike online sales, where you’re competing with global giants, a local stall lets you hand people fresh basil, rosemary, or mint and let them smell the difference. That sensory experience is your best sales tool.
To start, keep your setup simple and low-cost. You don’t need a fancy booth; a sturdy table, a clean cloth, and clear pricing signs are enough. Bring a cooler with ice packs to keep cut herbs crisp, and have small bundles ready for quick sales. Pricing should be straightforward—think $3–$5 per bunch for common herbs like cilantro or parsley.
Step-by-step market sales

Research local farmers markets. Look for ones with high foot traffic and a focus on local produce. Apply for a vendor spot early, as popular markets fill up quickly.
Harvest your herbs early in the morning when they are most turgid and fresh. Wash and dry them gently, then bundle them neatly. Keep them cool until you set up your stall.
Arrange your herbs so they look abundant and inviting. Use small jars of water to keep cut herbs fresh, and place a sign with your price and a simple recipe idea for each herb.
Talk to your customers
Don’t just stand behind your table. Engage with people. Offer small samples of herb-infused oil or tea if permitted. Ask them what they cook with. This conversation builds trust and turns a one-time buyer into a regular. Many beginners find that selling directly to consumers teaches them more about market demand than any business course ever could.
Common herb farming mistakes
Even with the best intentions, new growers often stumble on preventable errors that drain profits before the first harvest. The biggest pitfall is over-cultivation. It’s tempting to plant every herb you love, but scaling too fast spreads your resources thin and dilutes your brand. Instead, start with three high-demand varieties like basil, cilantro, or mint. Focus on growing them well rather than growing many poorly. This approach keeps your quality high and your costs low.
Another frequent mistake is poor drying and storage. Herbs are delicate; expose them to heat or light during drying, and you’ll lose flavor, color, and value. Use a dehydrator set to a low temperature or hang bunches in a dark, airy space. Once dry, store them in airtight containers away from sunlight. Properly dried herbs retain their potency and command better prices at farmers' markets or to local chefs.
Finally, underpricing is a silent killer. Many new farmers price their herbs based on grocery store rates, ignoring the cost of labor, packaging, and waste. Calculate your true cost per bundle, then add a margin that reflects the freshness and care you provide. Don’t be afraid to educate customers on why your herbs cost more—they’re often significantly more flavorful than store-bought alternatives.
Your herb business checklist
Before you buy that first grow light or print a single label, run through this final readiness check. It’s easy to get excited and skip steps, but a quick audit now saves headaches later. Think of this as your pre-flight inspection.
No comments yet. Be the first to share your thoughts!